Instructions to Register in Calls for Entries
The Worldwide Photography Gala Awards has partnered with Evalato, a new-generation platform to automate the submissions of call for entries and the screening by jurors. This new solution will allow submitters a more friendly process and the possibility to edit the submission at any time until the final deadline. The following instructions will guide those who are using the system for the first time.
The first screen of the submission process will indicate the different sections you are submitting, for instance:
Professional Section, Single Image, or
Non Professional, Series.
In some call for entries there will be just one section and few or no thematic categories, so these screens might be simpler.
By clicking in each section, you will see all categories available, to submit your work. In each category click in the blue + icon to indicate quantity of image or series you want to submit.
If the category has a yellow % icon it means that you are entitled to a discounted entry.
Once you have selected what to submit in a section (i.e. pro single image) you may select another section scrolling down, and select more categories in another section such as series after having selected single images.
The total at the end will be updated with the new selections and you will see the discount applied if you are submitting in a discounted deadline.
Once you have selected what you will submit, click in Register and in the next screen you will be asked to input your personal data. Then click Next.
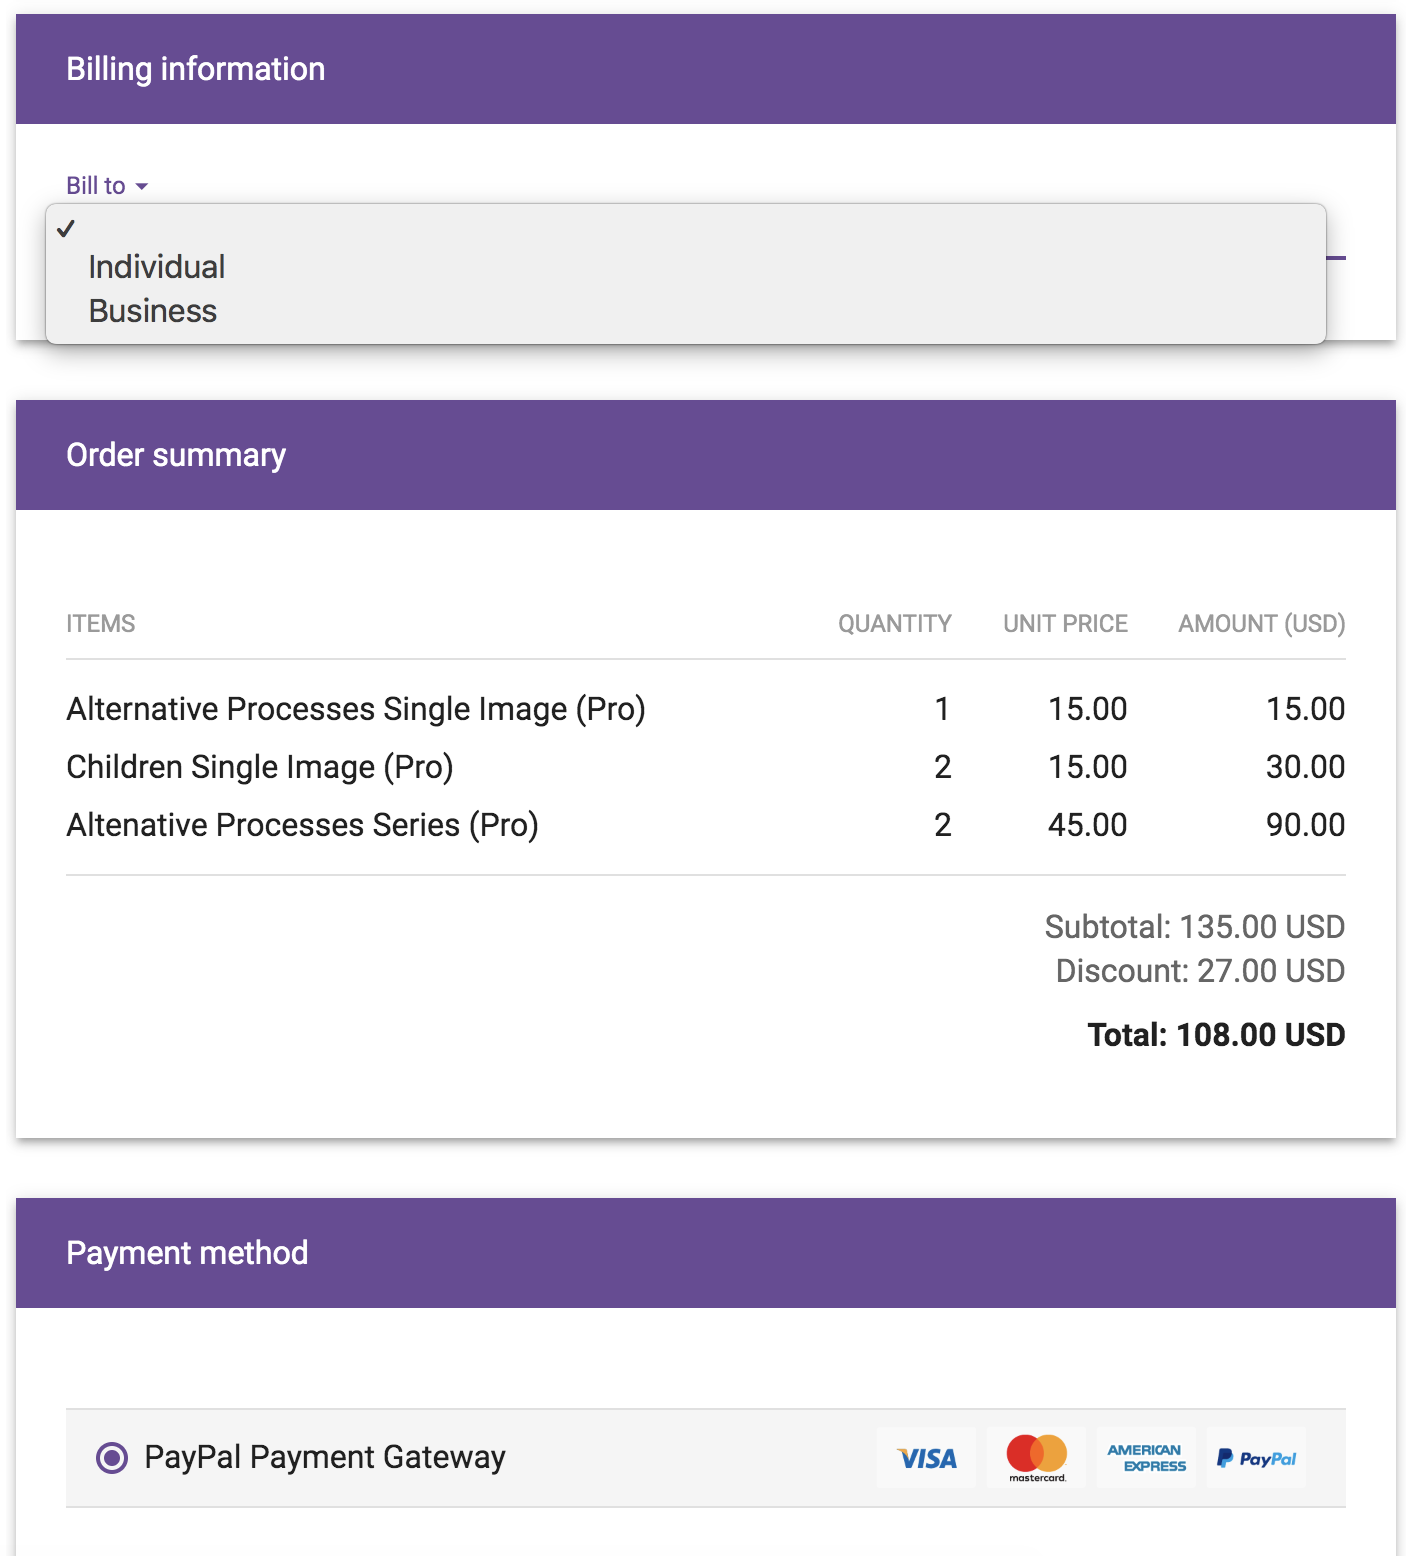
The next screen will ask for the billing information and will provide a summary of the images you are purchasing. Then click in Finalize. By default the payment method will be Paypal Payment Gateway that allows you to pay with Paypal account, MasterCard, Visa or Amex.
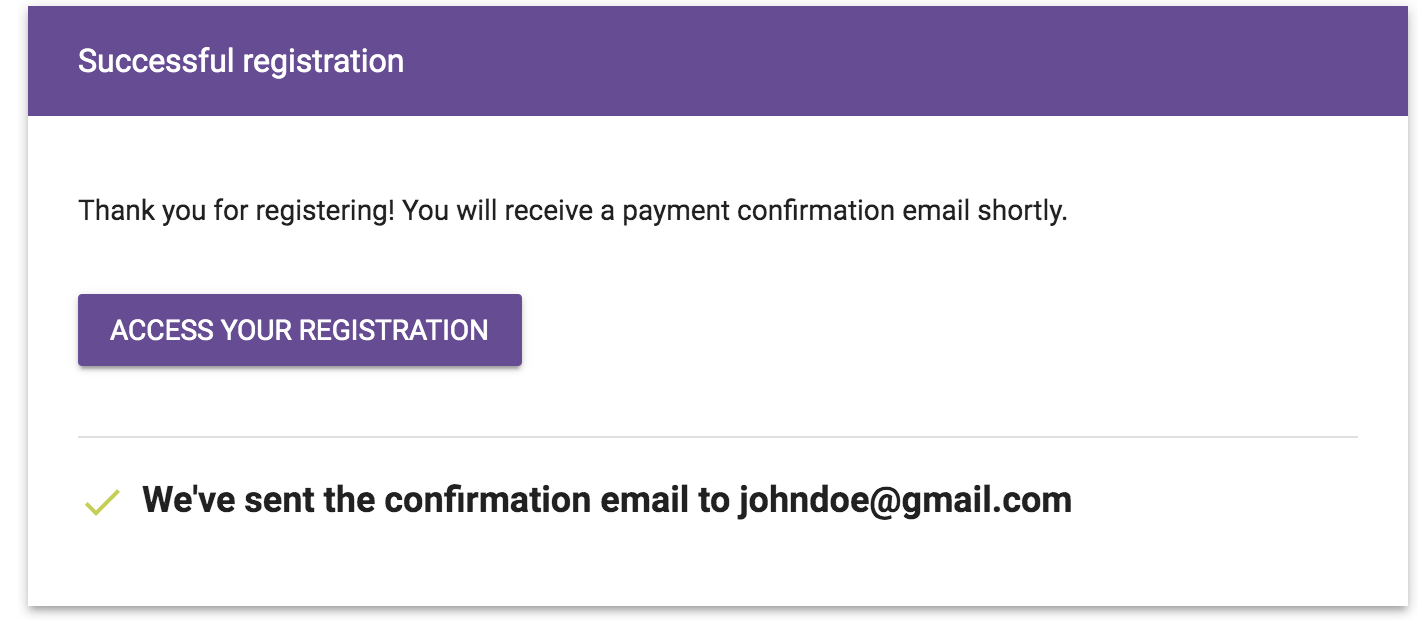
Then you will be asked to input your payment information (Paypal, Debit or Credit Card) and once done you will be directed to a screen that indicates you that the registration was successful. The button ‘Access your Registration’ will allow you to enter your registration and start uploading your images. In case you prefer to do it later, an email in your inbox will indicate the link and personal password to access your registration.
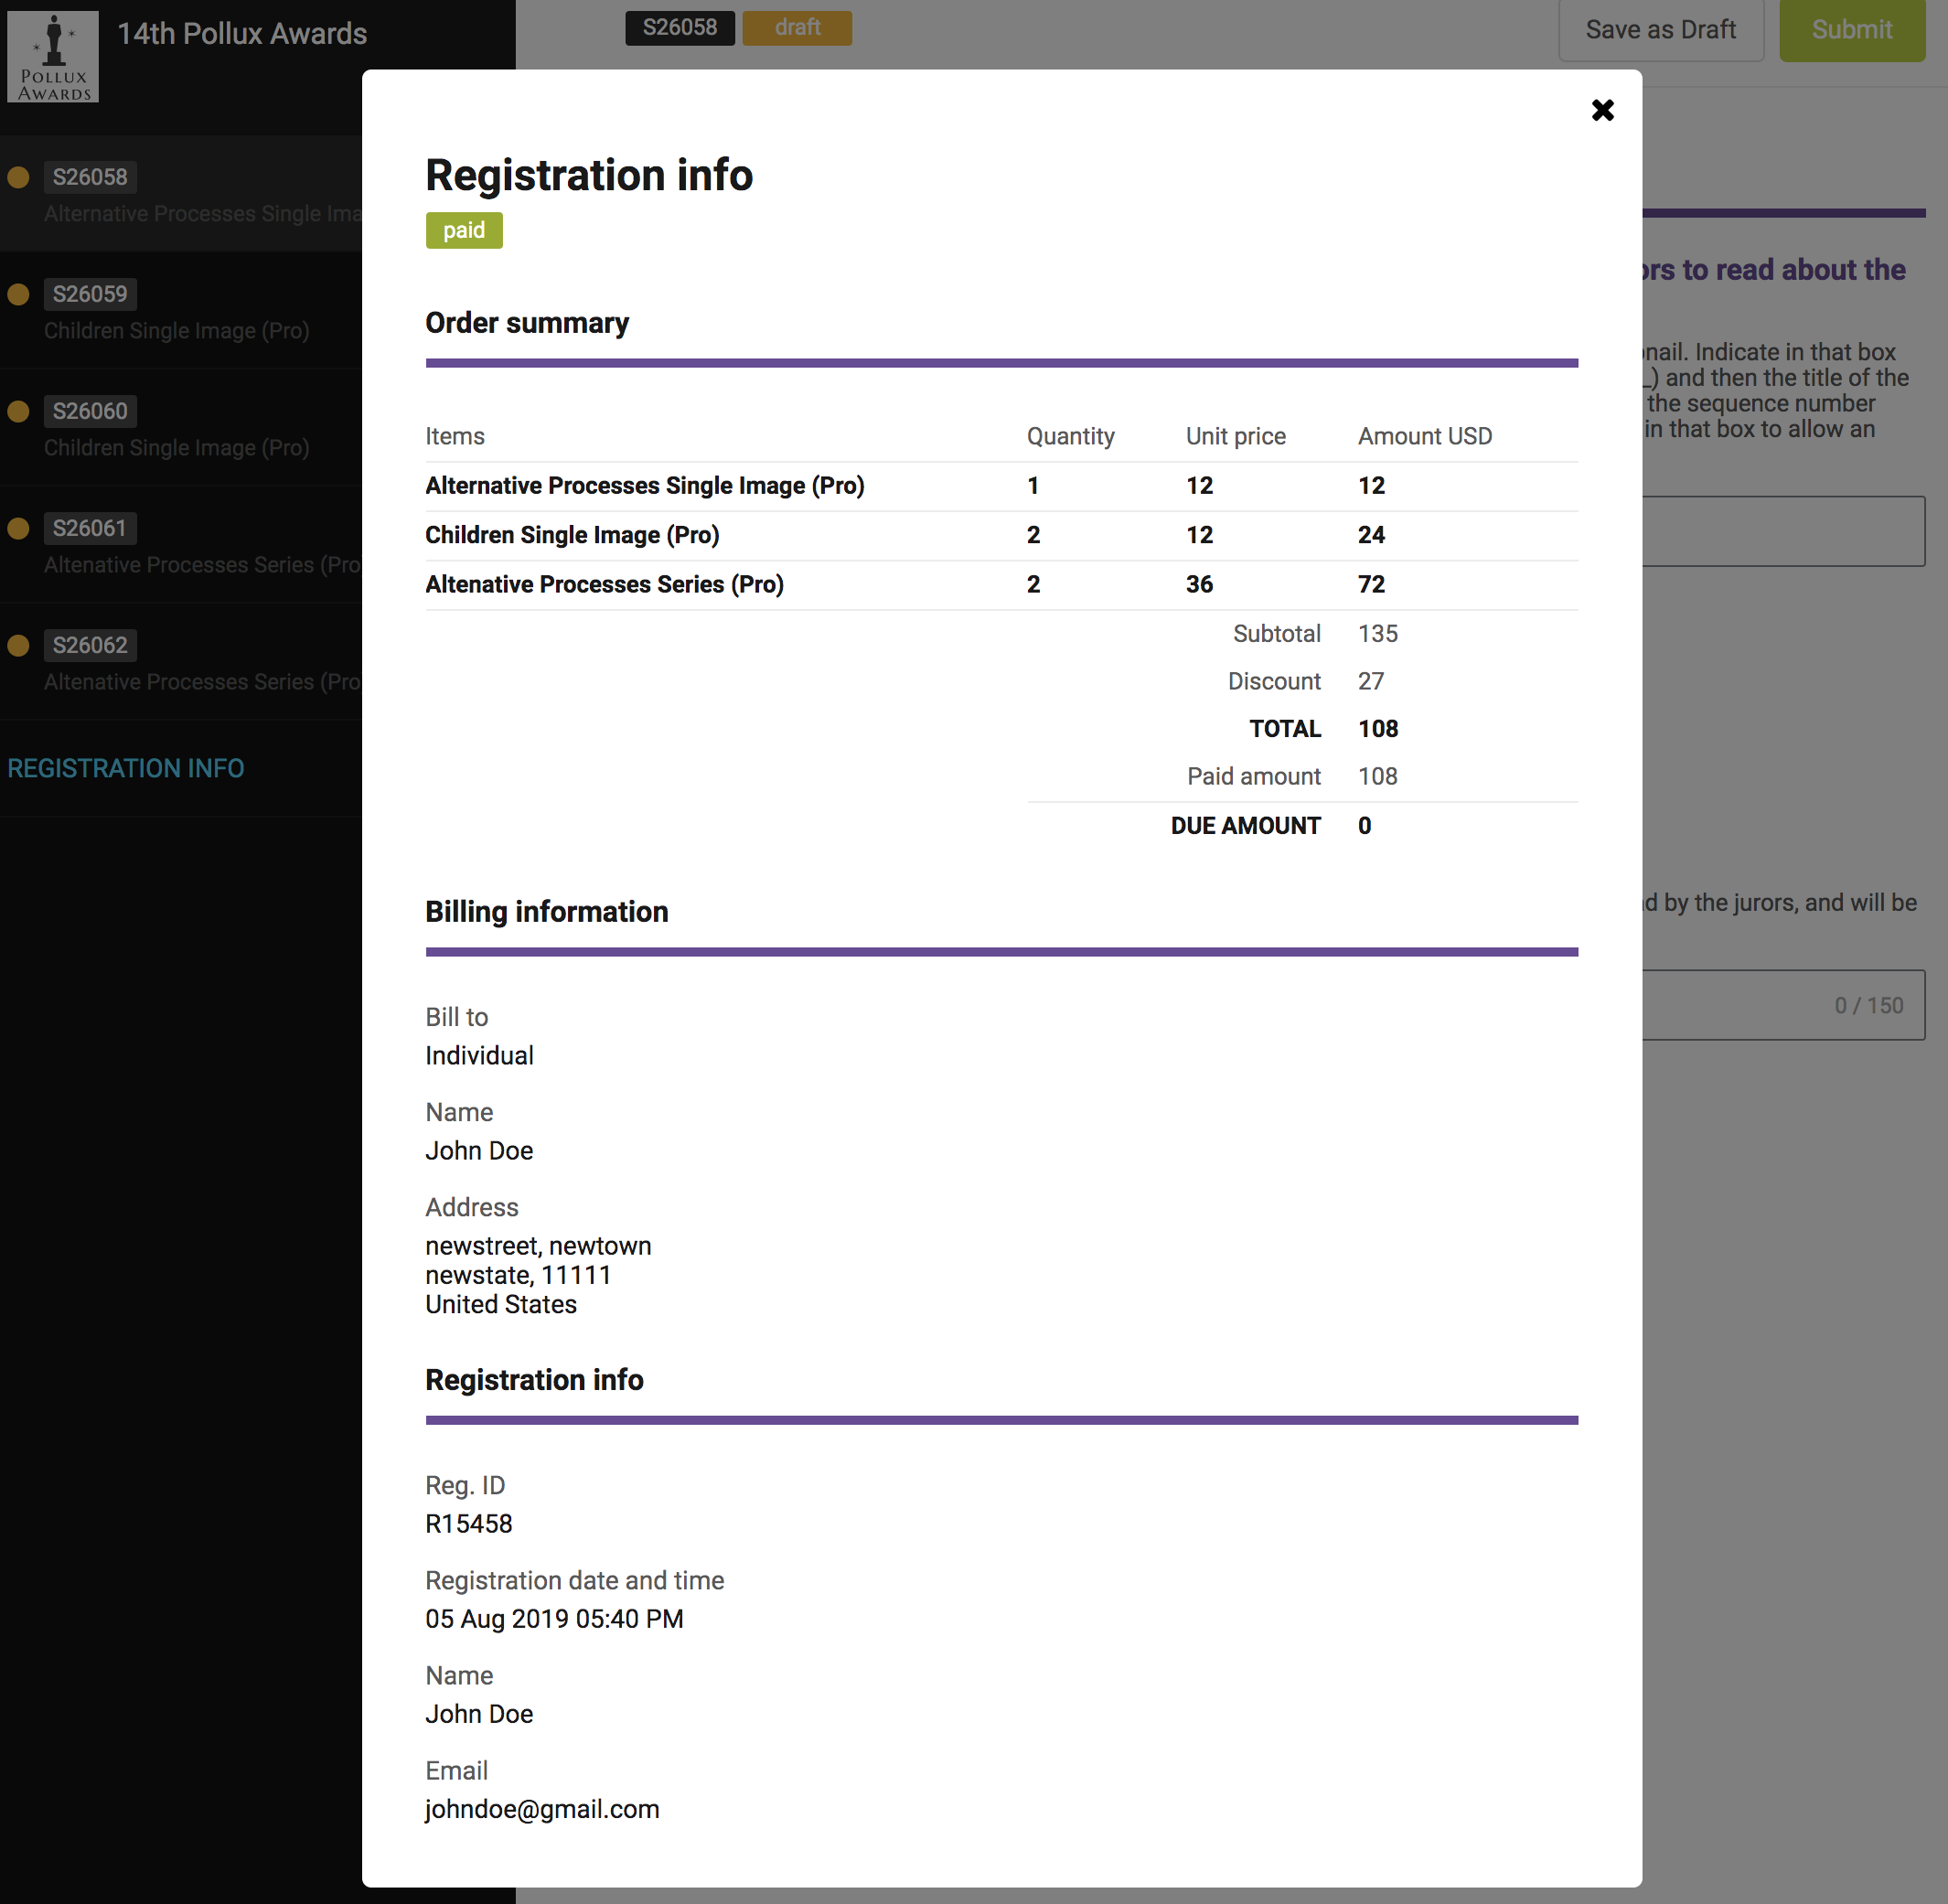
Once you access your personal registration page you will see at the left side (black bar) all the categories and sections you have selected to enter (and paid for). In the light blue link ‘Registration Form’ you can access your registration profile and the images you have paid.
Close the Registration info once you have used it for your records.
PLEASE NOTE THAT THE DESCRIPTION SHOULD HAVE 150 CHARACTERS NOT 150 WORDS. IT HAS TO BE A BRIED DESCRIPTION THAT CAN BE READ BY THE JURORS AND USEFUL FOR THE EXHIBITION LABELS.
In the left bar click in each purchased category (where the yellow dots are) to access the respective upload screen. You will notice that there’s one screen for each single image or series purchased. In the example indicated in the images below, there are one screen for Alternative Processes Single Image, two screens for Children Single Image, and two screens for Alternative Processes Series
Fill out the Title of the series or project in the upper text box, then upload and indicate the title of the image, and finally the description of the work in the final text box (limited to 150 characters). Once ready click Submit, and you will see a screen with the image uploaded. Then you may move to the next category by clicking in the left bar.
If you’re not ready to submit you may save the page as a draft (button in upper right corner, next to Submit). At any given time, although it has been submitted, you may Edit your submission changing the image or the title.
Once you have submitted in all categories you’re ready. But, as indicated, you may login and edit your submission at any time until the final deadline.


